How can we help?
Torque Assembly Step
This article covers best practices for adding Torque AI verification actions to an assembly and some built in features to help you get setup fast. Before getting started, please consult the following articles to ensure you have correctly connected the torque wrench and setup via our UI:
Torque Tips
- Adjust zoom so that the target bolt, nut or fastener is the focus for the AI vision system and ensure there is some space around the edge of the part to clearly see the torque driver.
- Our torque verification AI validates that the tool is on the correct part of your assembly and has achieved the correct torque. Our AI validates that after the torque event the screw, nut or other fastener is in the correct final spot.
- Use incorrect examples to teach our Torque AI incorrect locations to place the torque wrench, nut, bolt or fastener. Refer to Best Practices for Creating an Assembly for more details on capturing correct and incorrect actions.
Creating a Torque assembly step
- Select the action “General Assembly & Torque”.
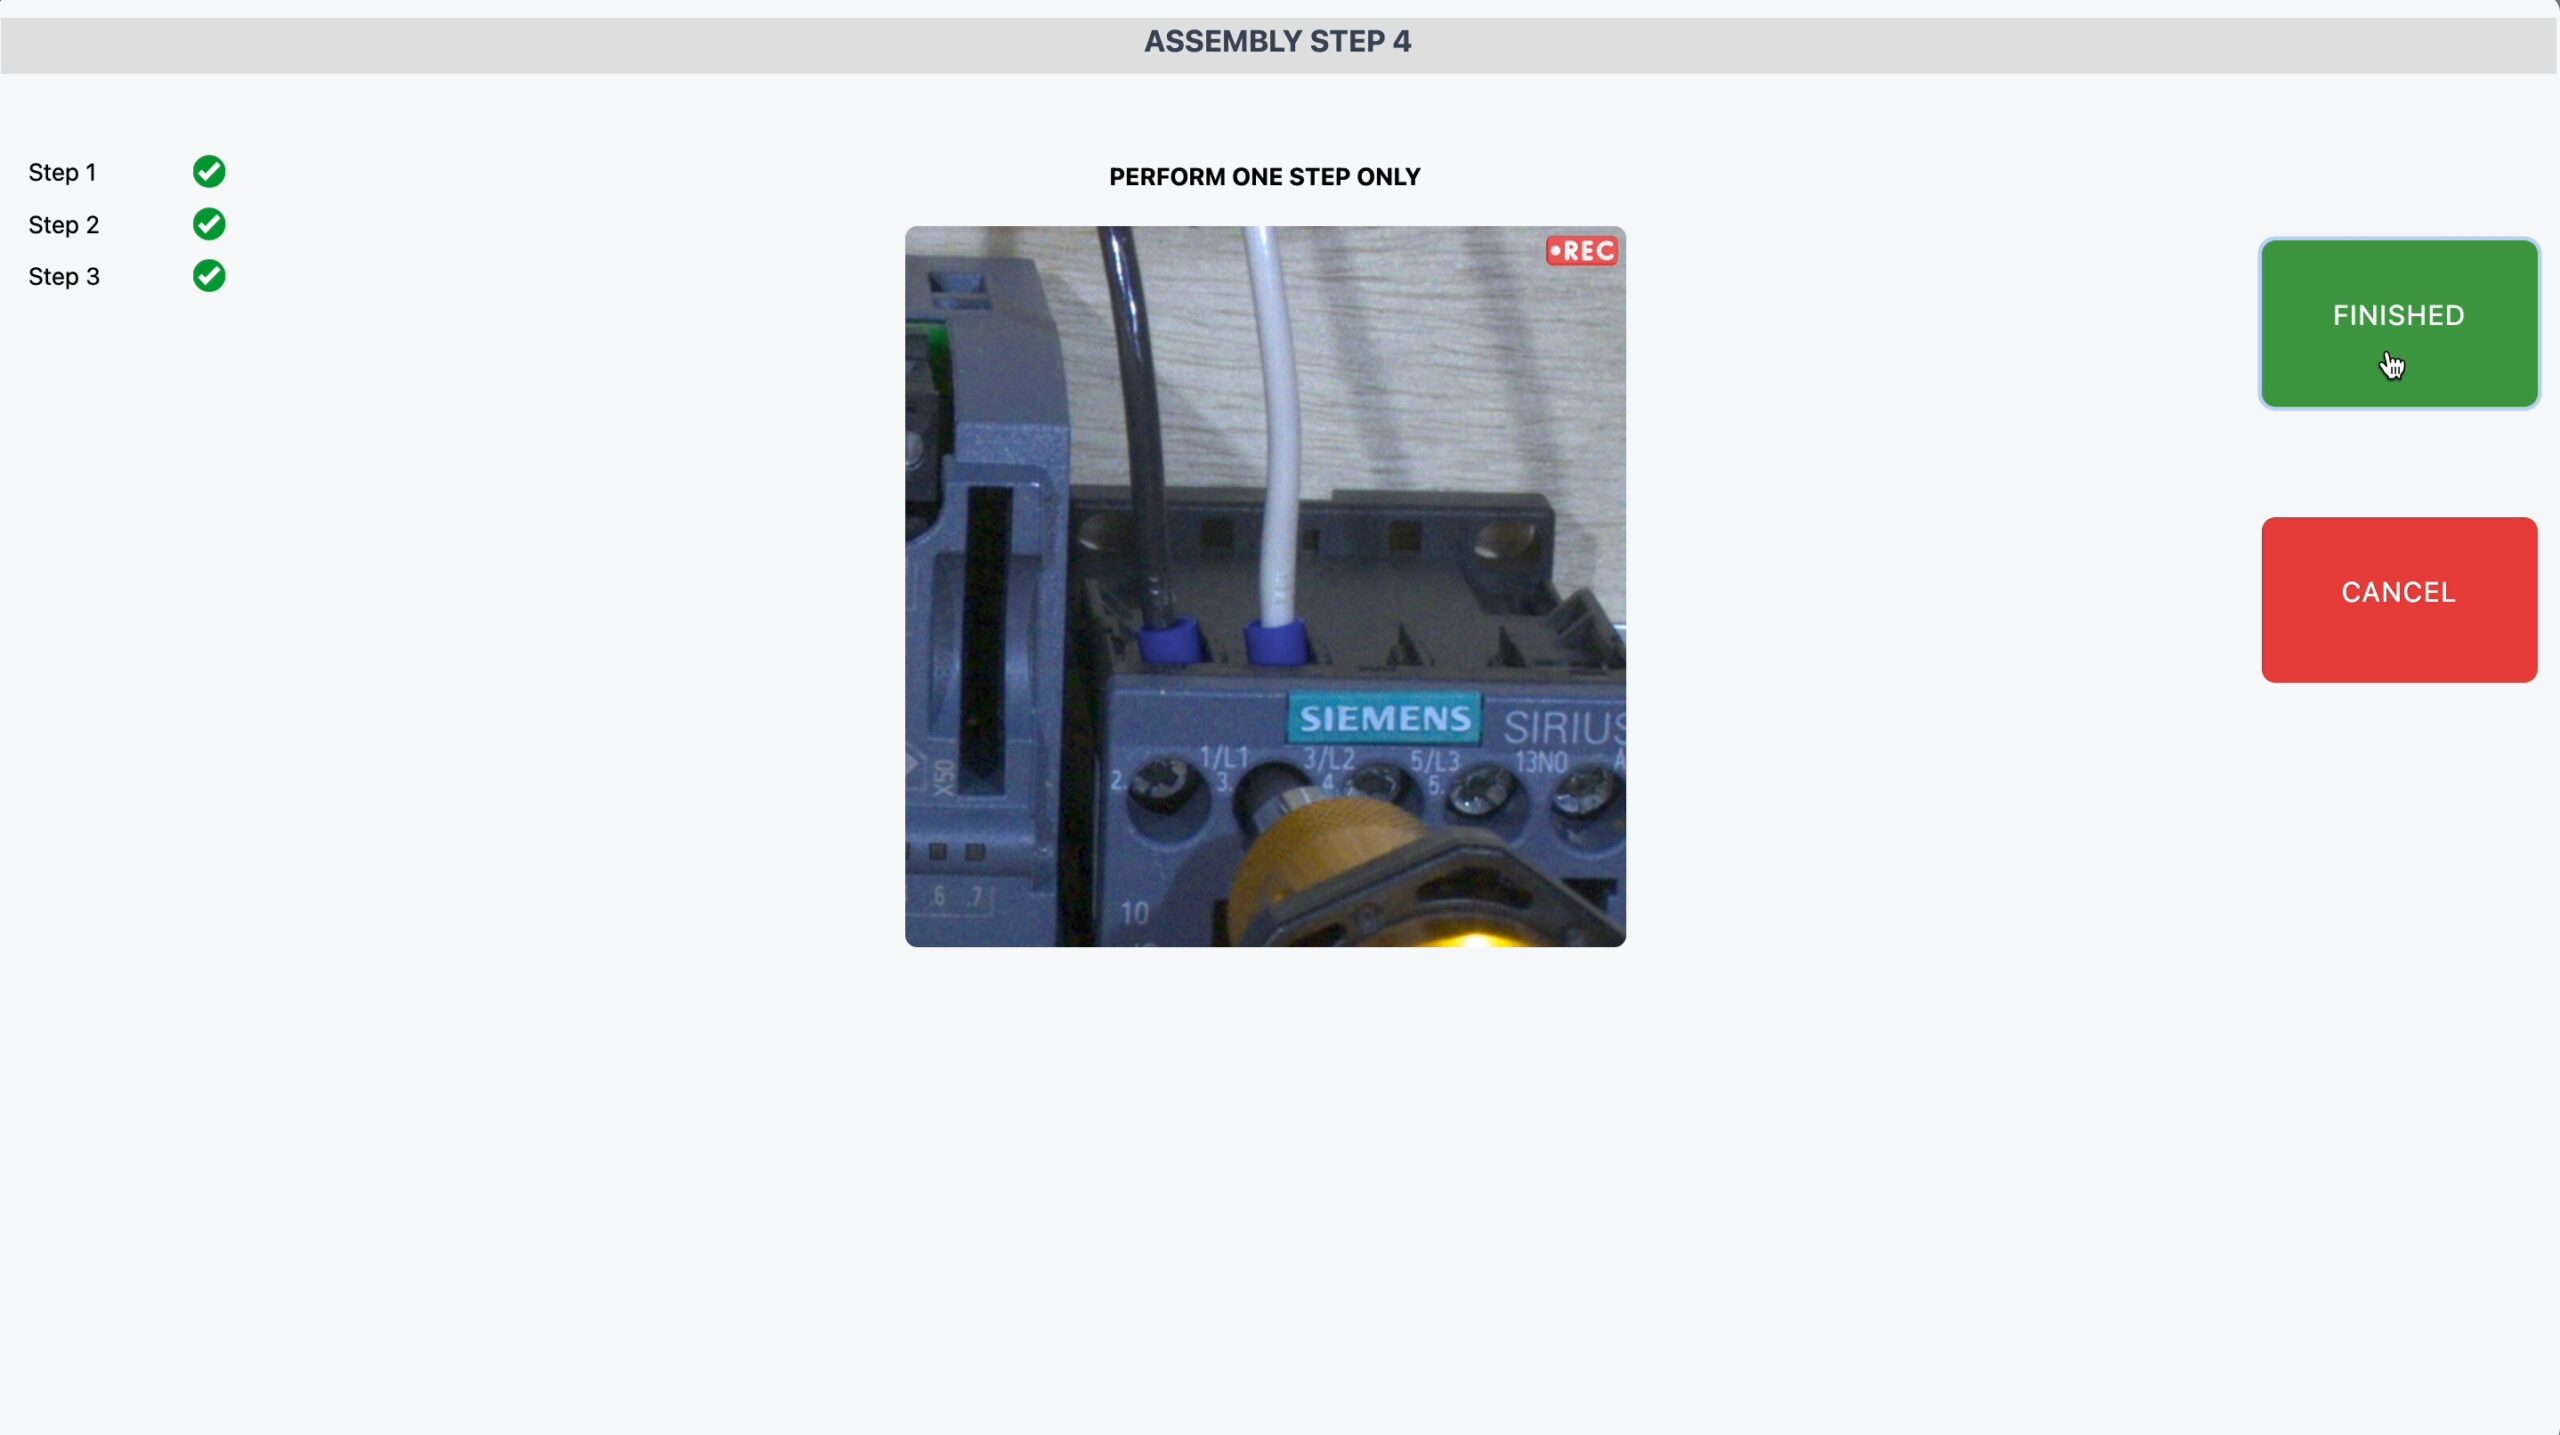
- Zoom in around the region where the torque device is going to be used so you can see the fastener plus the head of the torque driver.
- Perform the action and use the torque wrench to achieve the desired torque.
- Once complete, press FINISHED and validate that that the step is correctly captured.
- Adding incorrect examples is a powerful way to teach Torque AI how to build your assembly correctly, refer to Best Practices for Creating an Assembly for more details on capturing correct and incorrect actions.