Camera Setup
Correct camera setup is critical to achieve an accurate and reliable system deployment. Many issues can be root caused back to camera setup and configuration so following this guide is critical to ensure you get the results you need.
Camera selection
Rapta uses only high quality industrial camera suppliers with PoE interfaces including Basler for cameras & lens. Selection of the camera is dictated by your operational environment and the Rapta team can help you select the right camera for your application. Key considerations include:
- Frame rate: This is proportional to the resolution and the speed of your manufacturing process. If you are running assembly with human, a 12MP camera with 8 frames per second (fps) is generally acceptable. If you are running a fast process that is automated then you may require a higher frame rate camera. Please consult with the Rapta team to determine the ideal camera frame rate for your application.
- Resolution: This specifies the number of horizontal and vertical pixels available within the camera. If your application is electrical panel building or reading text with OCR then you may require a higher resolution camera between 12MP and 20MP. Resolution is proportional to frame rate, if you are running a fast process with a higher frame rate then this may drive selection of a lower resolution camera. Please consult with the Rapta team to determine the ideal camera resolution for your application.
Lens selection
Once the correct camera has been identified, the next step is to select the right lens for your application. The key variables include:
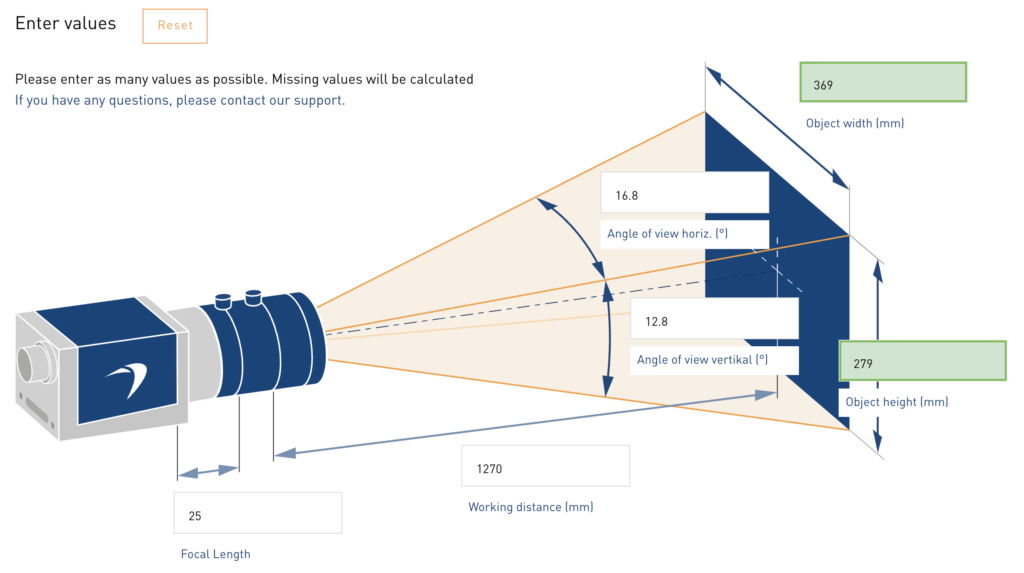
- Working distance: This is the distance between the camera lens and the application. Rapta typically mounts the camera at between 1ft (300mm) and 4ft (1300mm) from the application, however this can vary depending upon customer requirements.
- Focal length: This is the lens focal length and in a typical application this will be 8mm, 12mm, 16mm or 25mm. The focal length and working distance drive the object or viewable area and the number of pixels per square inch (or square centimeter).
Most high quality industrial camera manufacturers provide a comprehensive lens selector to aid this process, here is one example using the Basler lens selector.
Camera Mounting
Rapta has a wide selection of different camera mounts with adjustable angles to ensure the camera is always pointing at the right part of your assembly. Please consult with the Rapta team to determine the ideal camera mount for your application.
Aperture adjustment
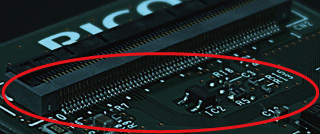
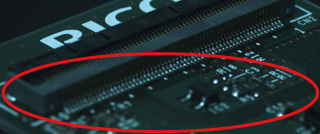
Once the camera is mounted with the lens installed, the next step is to adjust the lens aperture. The lens aperture is a critical driver of the depth of field (DOF) and the amount of light entering through the lens. Below is an example on the left where text on a PCBA is visible across the board with the aperture set to provide sufficient depth of field. The example on the right shows poor depth of field so text or objects in the scene are out of focus. Poor depth of field will impact the performance of AI if you are trying to recognize any of the objects in that scene or perform OCR validation.
This website is a good resource for further information on depth of field. Depending on the application, Rapta uses an aperture setting between 4 and 8 however this may vary depending upon the your exact requirements. Please consult with the Rapta team to determine the ideal lens aperture setting for your application.
Focus adjustment
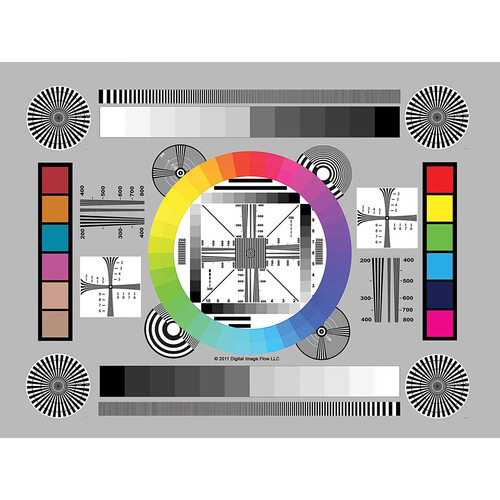
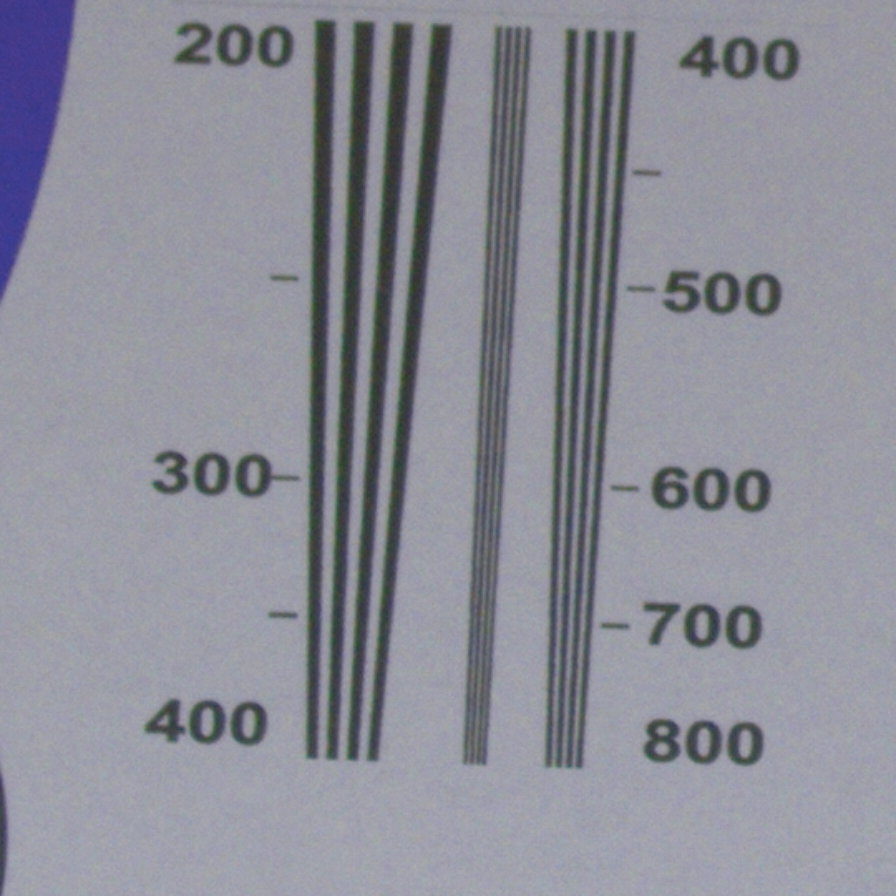
The very last step in the process is focus adjustment. This is aided by a calibration card with many available, here is one example.
Focus adjustment process:
- First rotate the focus until you see the image come into focus, then go past that point until it’s blurry again. Then turn back the focus to the point where is no longer blurry.
- Zoom into a region where there is small text and verify the text is all visible. Repeat this process for objects of different heights or distances from the camera to make sure each region of interest in the camera scene is in focus.
Run auto adjustment
Rapta’s system includes automatic adjustment of the camera white balance, color, gain and other parameters to ensure it is setup correctly for your application. Then run this process, select Auto Adjust Camera from the Setup tab.
Important Note: Its critical you perform Auto Adjust with a white background, putting a piece of white paper in front of the camera is a good way to ensure that the camera is auto adjusting with the correct white balance. If you use another dominant color such as a blue anti-static mat, the color adjustment will be off.