Using Multiple Cameras
This guide covers how to configure multiple cameras for an assembly.
Why use multiple cameras?
Using more than one camera has advantages for larger assemblies or ones that require different viewing positions to see different sides or parts that may be obstructed from only one camera viewing position. Figure 1 shows a large electrical panel that requires 4 to 6 cameras to ensure sufficient pixel density across all components and wire labels. Our goal for an electrical cabinet is to have a minimum of 20 pixels of text height to ensure OCR functions accurately and for a small wire label with 2mm height text, this requires 3036 x 3036 pixels across a 300mm (1 ft) x 300mm (1 ft) area to achieve the minimum text height.

Using the multi-camera feature
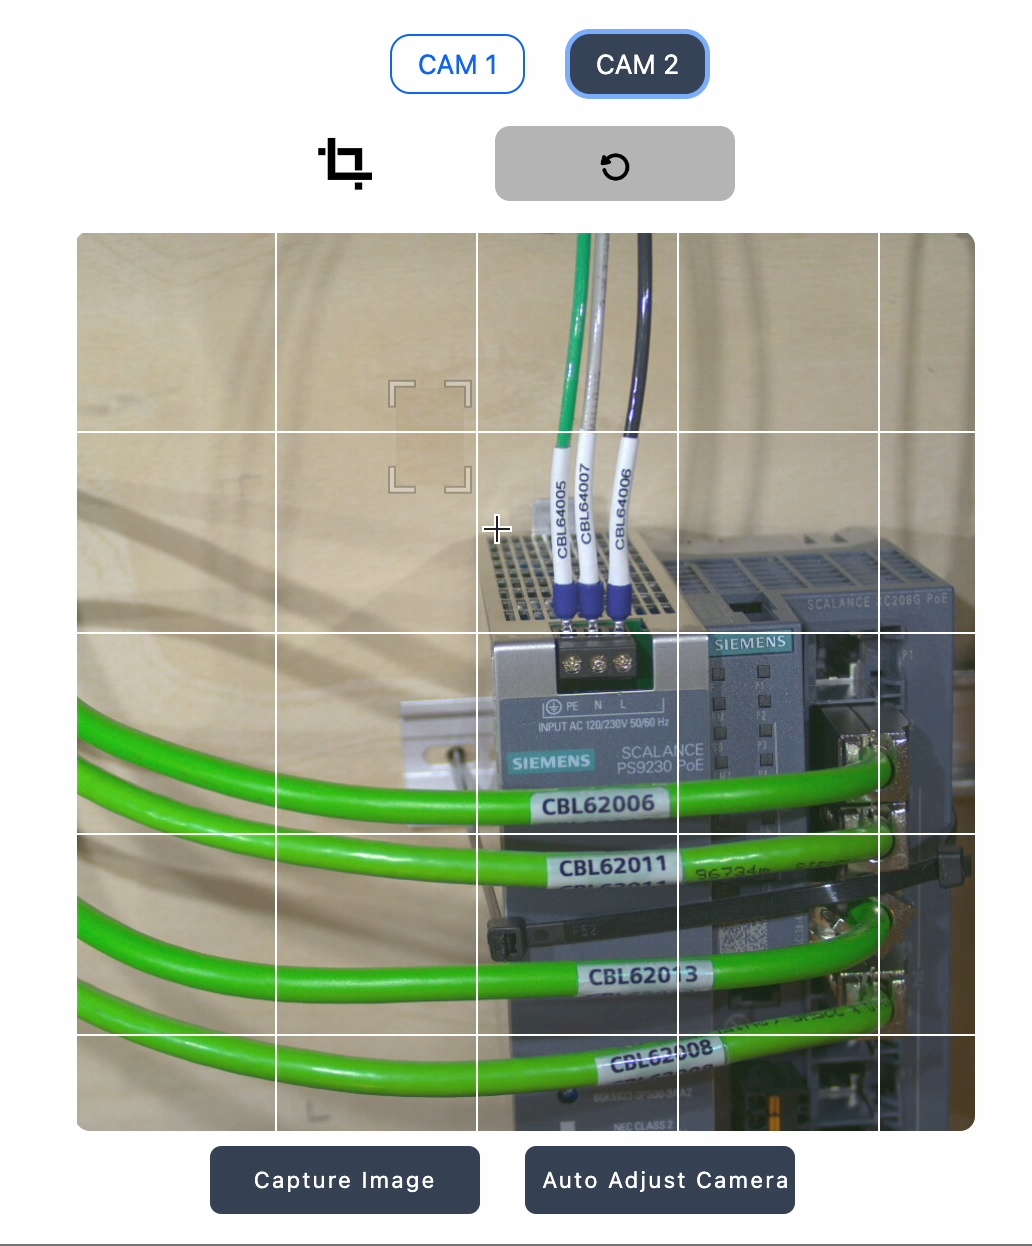
During the assembly creation process you will be able to select CAM1, CAM2, CAM3 or any of the cameras if you have more than one camera supplied with your system from Rapta.
Important Note: If you have only one camera connected, the multi-camera selection buttons are hidden on the user interface.
Running assemblies with multi-camera
The correct camera will be selected for each assembly step while running an assembly in production, this is automatic requiring no intervention from the operator.