Installing & adjusting the camera angle
Rapta has a system of mounts that enable adjustment of the camera position and angle to suit your application. The parts are printed from a high temperature, ultra strong material called PETG.
Downloads
The camera brackets and camera angle wedges can be downloaded and printed from this link: Downloads
Tools & Parts Required
- 2.5mm hex socket driver
- 4 x M3 6mm cap head screws
- 1 x 8020 mount
- 0 – 20 deg wedge kit
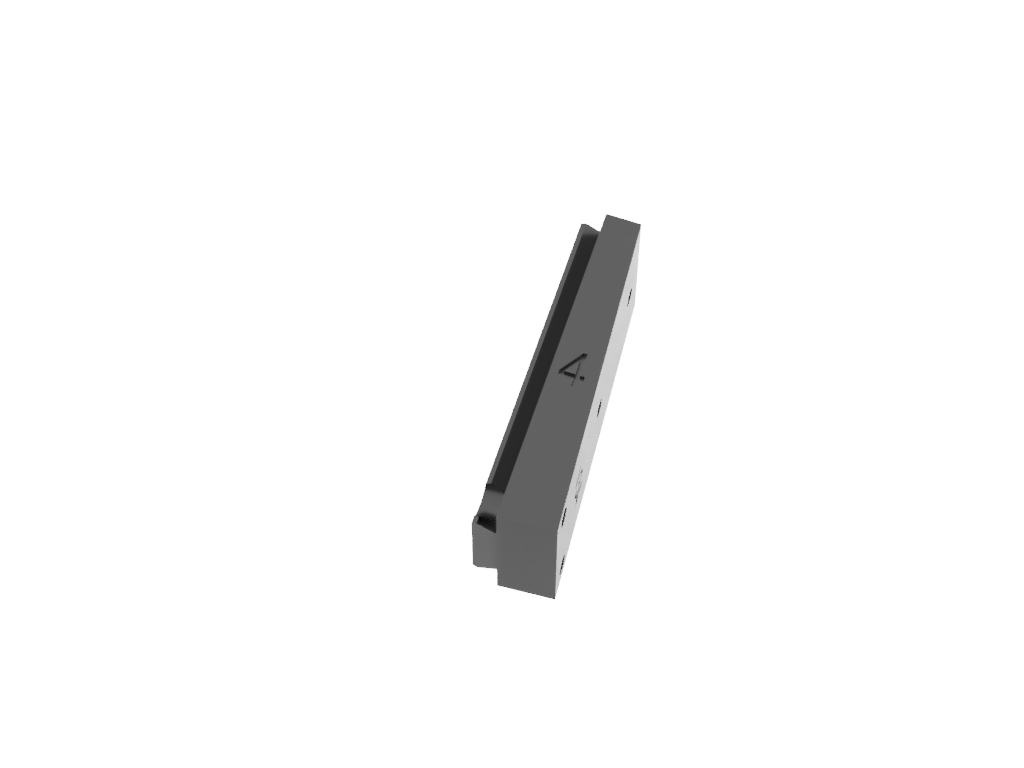
The angle of the mount is set by a part we call the “wedge” that has its designated angle written on the side. A positive number such as 4 indicates that the angle is 4 degrees and a negative number such as -4 indicates that the angle is -4degrees.
Installing the camera onto the mount
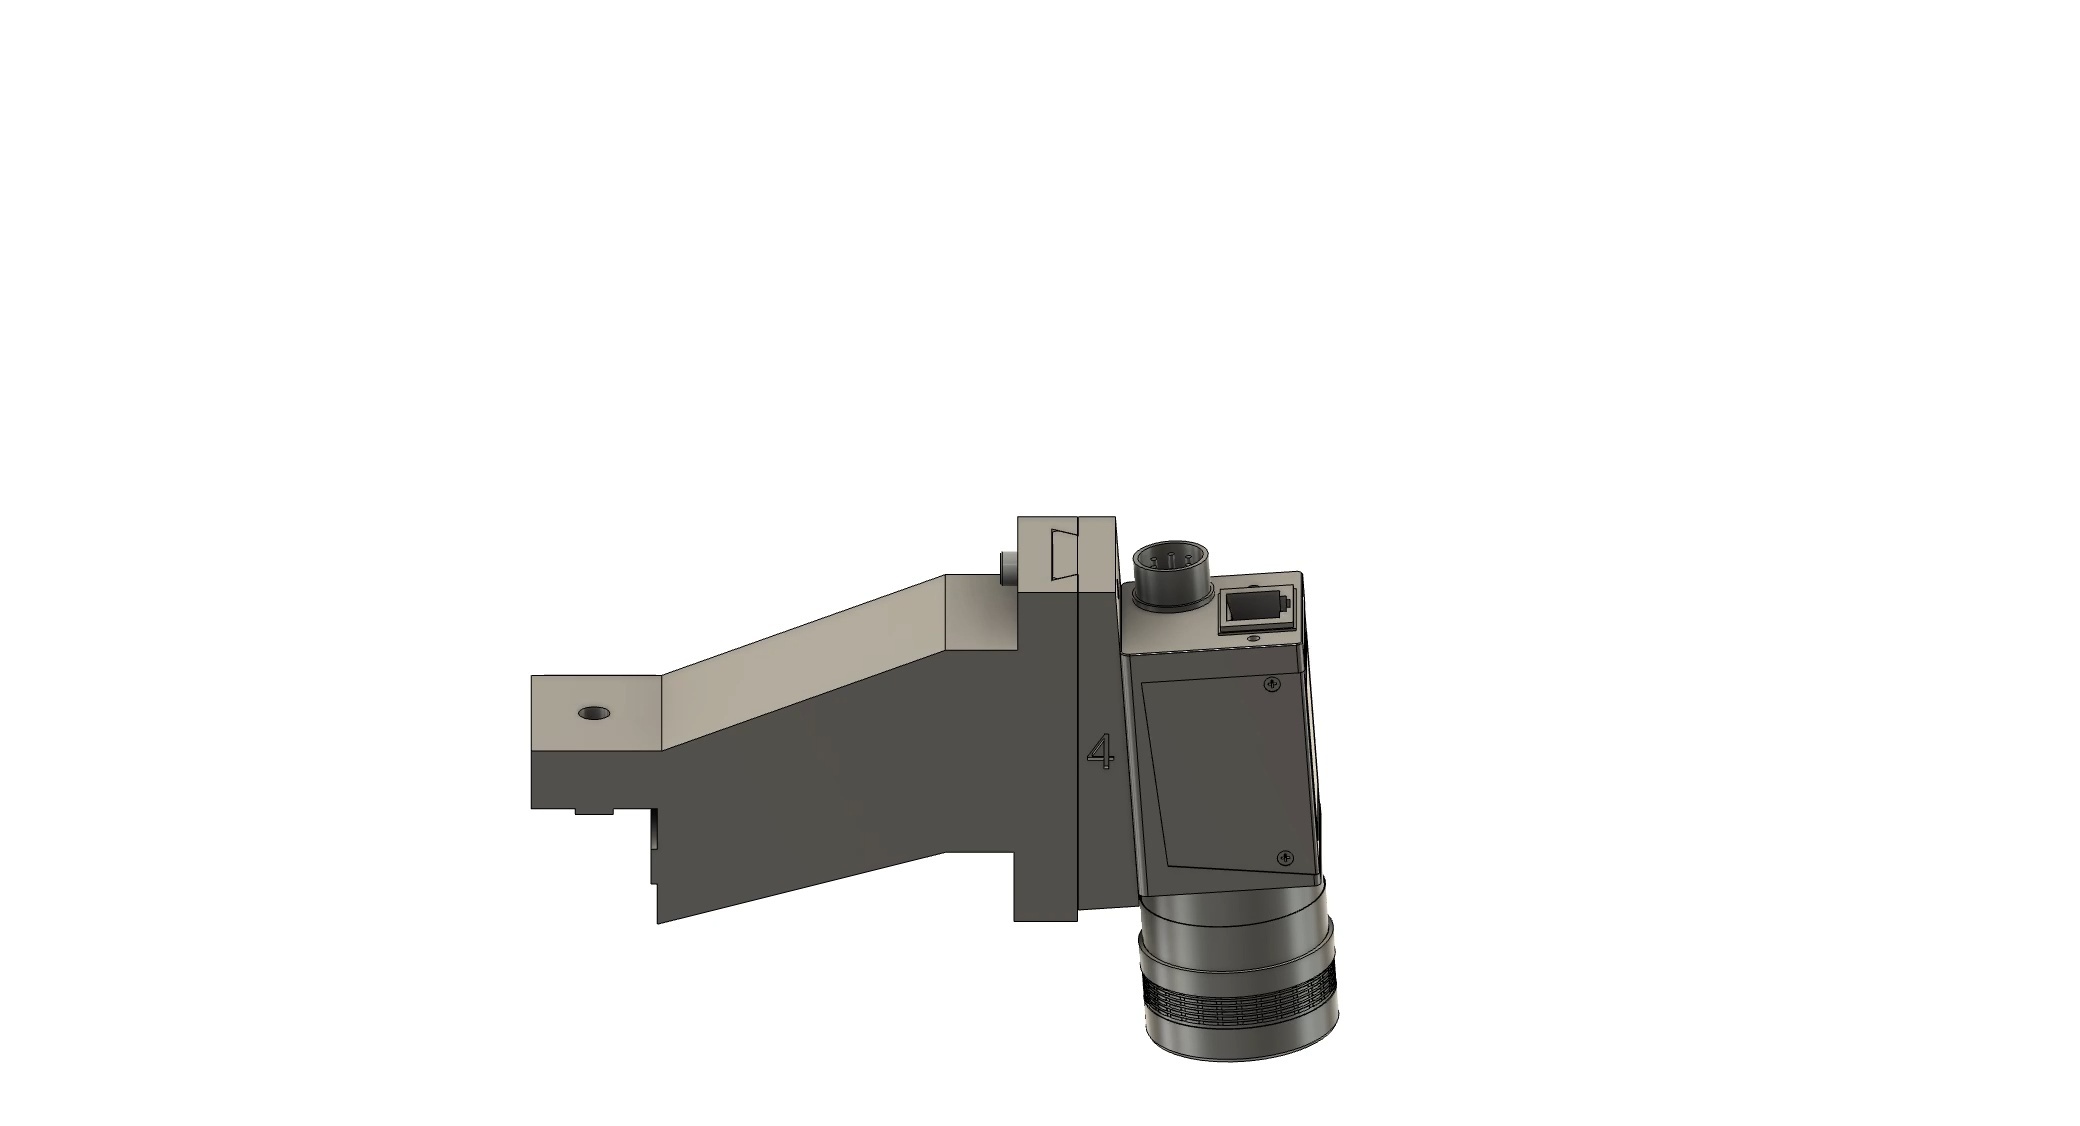
Video instruction showing how to install the camera on the mount is featured below, the key steps include:
- Screw the “wedge” to the camera body with the 3 x M3 6mm mounting screws.
- Slide the wedge into the mount, noting there is a 3mm hole where the locking screw inserts through.
- Insert the M3 screw into the back of the mount to lock the wedge and camera into place.
Verify the camera position
Navigate to the camera setup tab to verify the camera is correctly positioned for your assembly. If the image is not clear or distorted, refer to the Camera setup procedure.
Adjust camera angle or remove or replace a part
Video instruction showing how to uninstall the camera from the mount is featured below, the key steps include:
- Remove the M3 screw from the back of the mount that locks the wedge and camera into place.
- Slide the wedge out of the mount gently supporting the mount with one hand.
- Unscrew the “wedge” to the camera body by the 3 x M3 6mm mounting screw.
